When you have more than a handful of lists you will need to organise them into categories. You will be prompted to do this once you create more than 16 lists.
You can create categories to help you organise your lists at any time, and so the exact method you should use depends on your situation. In this chapter there are two suggested workflows.
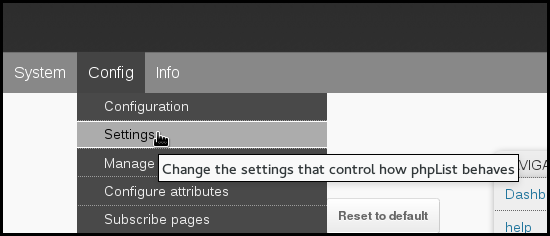
To create your categories go to Config > Settings
Scroll down until you find Segmentation settings
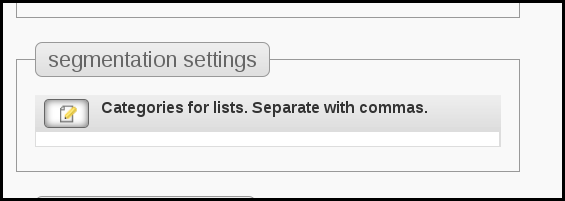
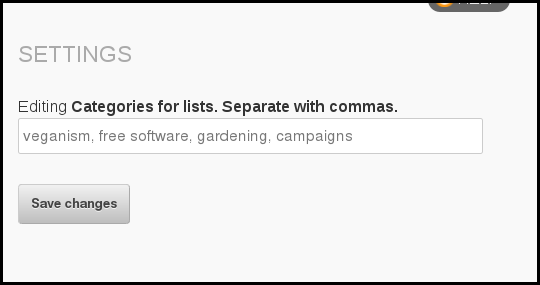
Enter the names of your categories, separated by a comma.

In the image above you can see I have made a list category called veganism, for example. This is because I know I will have several lists about veganism in the future, for example, recipes, campaigning, events and philosophy.
NEXT, See the section about Using categories at the bottom of the page.
If you use Blink Mailer a lot and you are using list segmentation you will soon end up with more lists than you can easily manage without categorising. To start categorising your lists go to Subscribers > Subscriber lists.

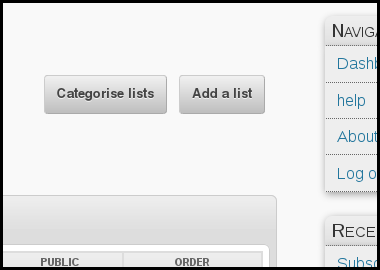
Then click Categorise lists.
If you have no categories at all yet, you will see the following screen:

Click Configure categories.
If you already have a few categories you will see a similar screen with the Configure categories button (which you still must click) in the top right.
Create your categories
Add your categories, one by one, with commas between them.
Click Save Changes.
Add lists to categories
Go back to Subscribers > Subscriber lists. Click the Categorise lists button.
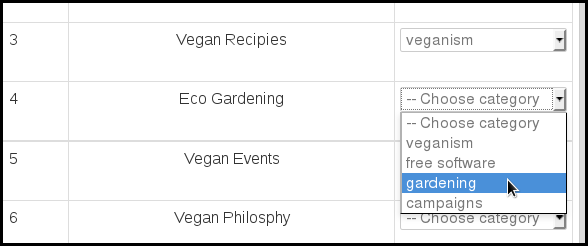
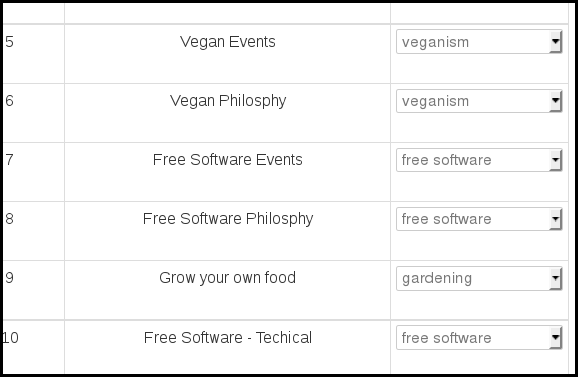
Select the correct category from the drop-down beside each list.
If a list is already categorised, it will not be displayed.
Carry on till all the lists are matched with a category if possible.
If you find a list that does not fit into a category you can keep it in Uncategorised by leaving --Choose category in the dropdown and make a new category later.
When you have finished click Save. Then, if you want to create more categories click the Configure categories button at the top of the page again and repeat the cycle.
If a list has already been categorised and you want to change the category, you can do this by editing the list from the main lists page.
Once you have finished setting up categories, they should become part of your everyday workflow with Blink Mailer.
For example, when you make a new list, you can assign it to a category during the creation stage. In this image I have created a list called Vegan Recipes and I can categorise it under veganism.

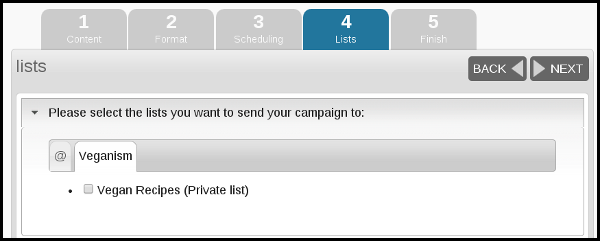
Also, as a second example of categories in use; when you send a campaign you can look for your lists by using categories too.