![]()
make marketing affordable now!


|
|---|
Email: |
me@my-domain.co.za |
| Incoming (POP) server : | mail.my-domain.co.za |
| Outgoing (SMTP) server : | smtp.my-domain.co.za |
| Account / User Name : | me@my-domain.co.za |
| SMTP Authentication : | Enabled (same Username as POP) |
| Note: If SMTP Authentication is not catered for by your email program, you must rather use your ISP's SMTP server. | |
| SMTP Port : | 587 |
Select settings
1. Start by selecting the settings icon from your home screen.

Select Mail
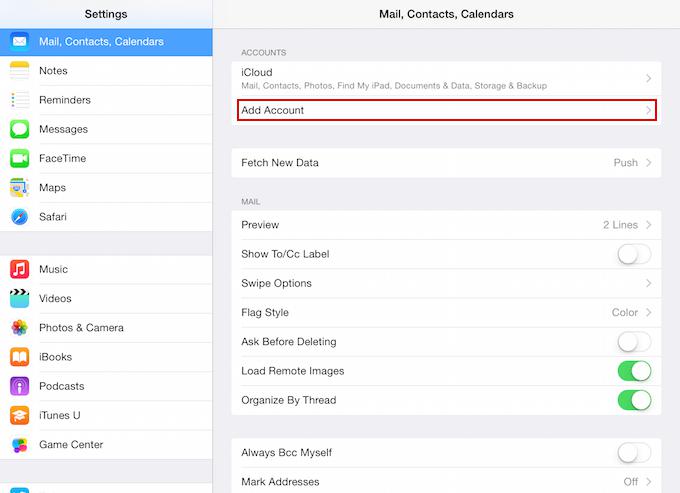
2. Select “Mail, Contacts, Calendars” from the settings menu:
3. Select “Add Account…” from the list of accounts:
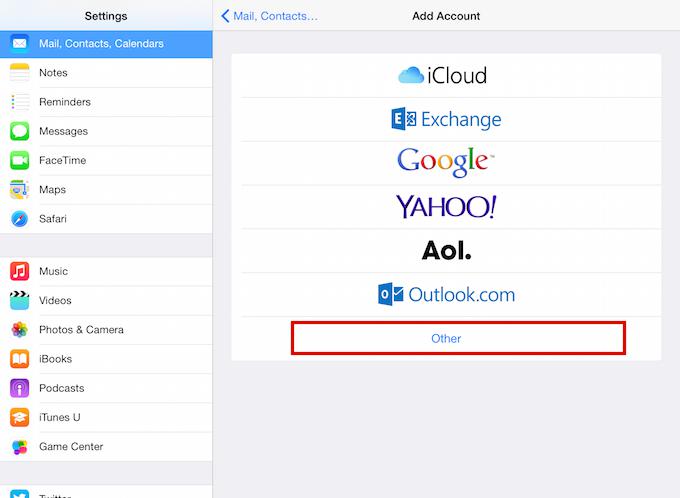
Select Other
4. Select “Other” from the menu:
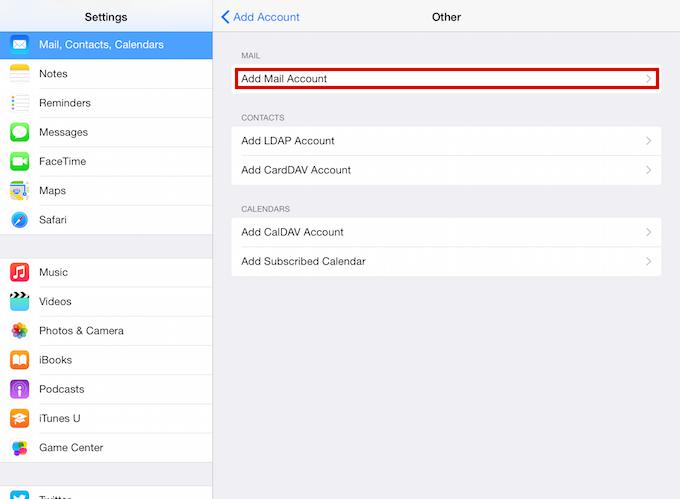
Select Add Mail Account
5. Select “Add Mail Account” from the list:
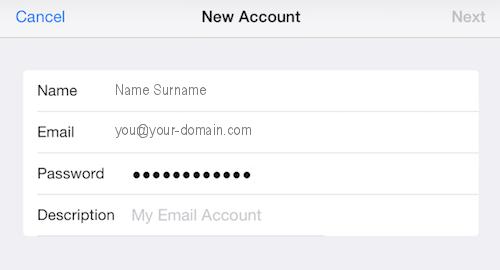
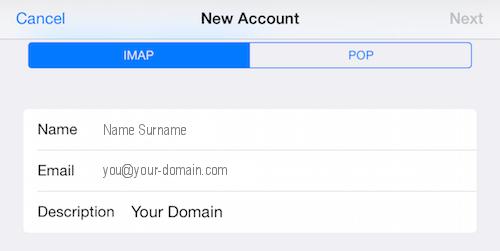
Enter your account information
6. Fill in the required fields as below and select “Next“:
Select IMAP
7. Select “IMAP” from the top of the screen and then continue with the steps below.
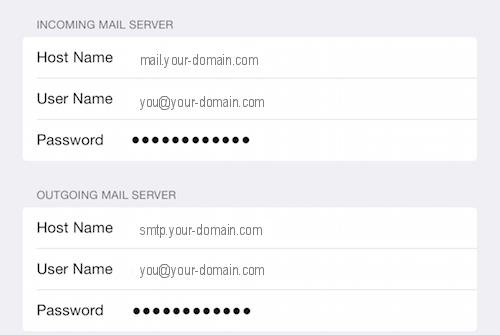
Configure Incoming and Outgoing Servers
8. Scroll down to “Incoming Mail Server” and fill in the relevant fields.
9. Scroll down to “Outgoing Mail Server” and fill in the relevant fields and select “Next“:
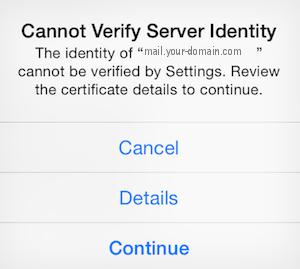
Verify Server Identity
10. When prompted with the below pop up message. Select “Continue“:
Select Save
9. You will then be prompted to “Save“, you can select “Save“.

You have completed your account setup
Congratulations, you have now successfully configured your email account on your iPad.
Email still not working? Read our Troubleshooting Guide